• Ernie Ball
  • MusicMan
  • Sterling by MusicMan

Coffeemug

Well-known member
Joined
Oct 30, 2008
Messages
1,457
Location
K-Town, Germany
Great work Spud...one can tell you're quite a handyman. Can't believe you managed to get that white paint off so well! Putting it back together should be a lot of fun...and I really mean it! :)
 

Spudmurphy

Well-known member
Joined
Aug 23, 2005
Messages
12,037
Location
Cardiff, United Kingdom
Thanks for all the kind words guys. just spent a couple of hours on it tonight buffing some scratches out using "guitarscratch remover" which is excellent stuff. I want to spend some more time buffing it with their super fine compound tomorrow then I'll start assembling it on Friday. - and yeah beej/coffemug it's been a fun project - and yeah I'm sure that there will bits left over - nah - I can account for everything.
Once again my fingers are sore but I'm very happy with the results.
 

Slav123

Well-known member
Joined
May 13, 2009
Messages
1,744
Location
Hey, u talkin to me? NY
Here ya' go Spuds, this should help!
Aquarius-schematic.jpg

I say leave her as is! She's beautiful in a Biology Classroom sort of way.
 

Spudmurphy

Well-known member
Joined
Aug 23, 2005
Messages
12,037
Location
Cardiff, United Kingdom
^ LOL nice one!!
That reminds me of the days when I was heavily into VW Beetles and there was a great book out (the fore runner to the Dummys books) called how to keep your Beetle alive by John Muir (ISBN-10: 1566913101)
It was full of sketches and one was a VW Beetle stripped down to the last nut and bolt.
I no longer have the book but this photo is from it and it shows a guy dreaming (having nightmares?) about putting his beetle engine back together.
Kinda like my photos !!! ;)
dfa9564e.jpg


Edit
So, I finished the polishing & re assembly has started and all I've done so far is to install the strap buttons. Next I'll be re doing the wiring then putting the neck back on followed by a set up.
I'll take as many pictures as I can especially during the setting up phase to help people understand how it all goes back together.
 
Last edited:

Spudmurphy

Well-known member
Joined
Aug 23, 2005
Messages
12,037
Location
Cardiff, United Kingdom
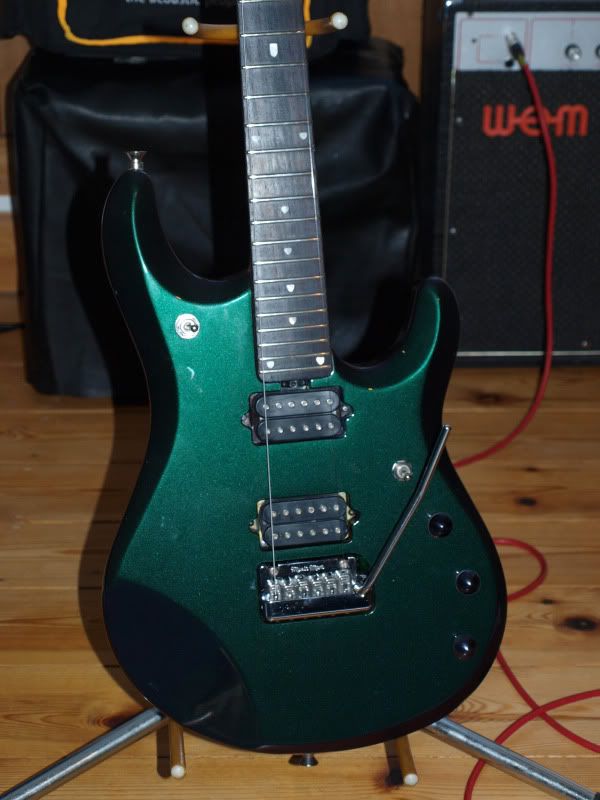
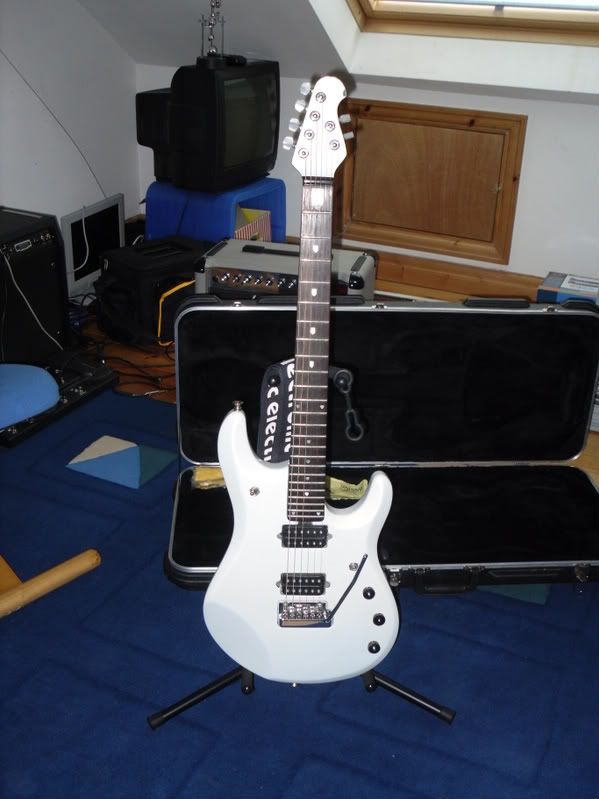
OK so as promised here's a write up of how I set up the Pet.

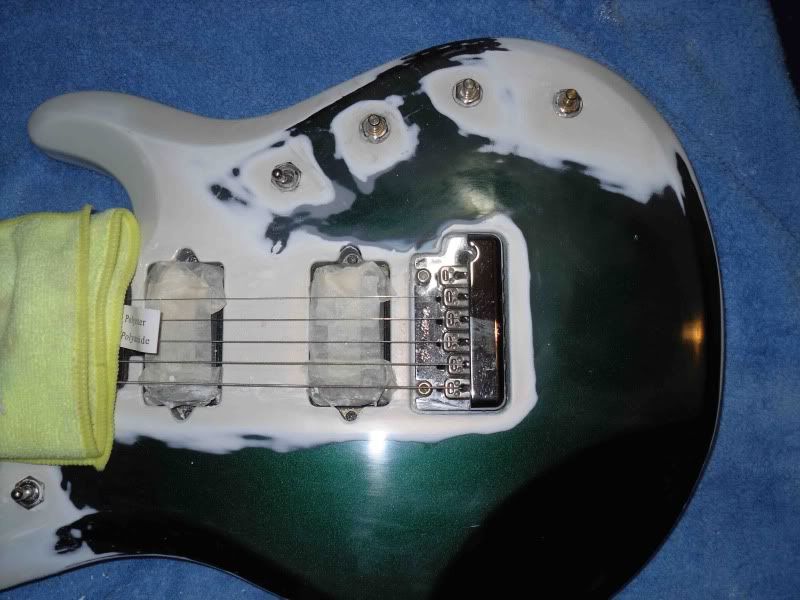
Today I soldered all the wiring with my son's help. It's a tricky job and he was great at holding some of the small Piezo wires using a pair of tweezers - they also act as a good heat sink.

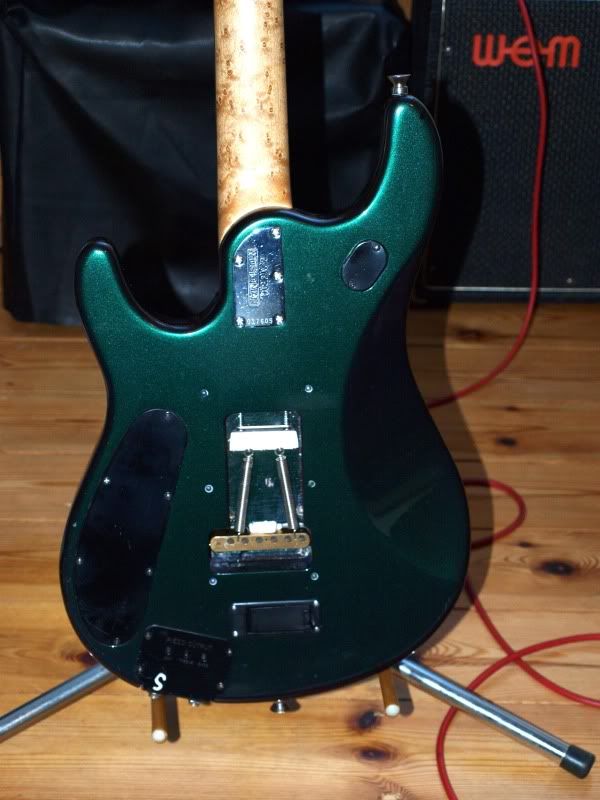
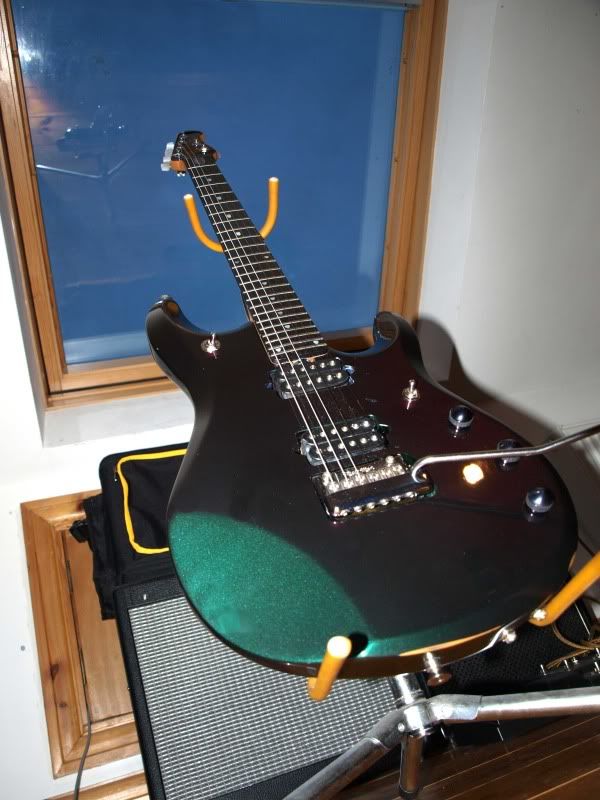
First, after screwing the neck to the body - not too tightly, I want to check that the neck is sitting straight in the pocket. I use really cheap strings (80p a set) to do the initial set up when a guitar is at this stage. I used the two E's and eyeballed them to check that they were running parallel with the edge of the neck - when I was happy I tightened all 6 neck screws - please do not over tighten - it is can be bad for a guitar. Also I have not yet polished the guitar as I am touching it so much during set up, it would be a waste of time.
88939822.jpg


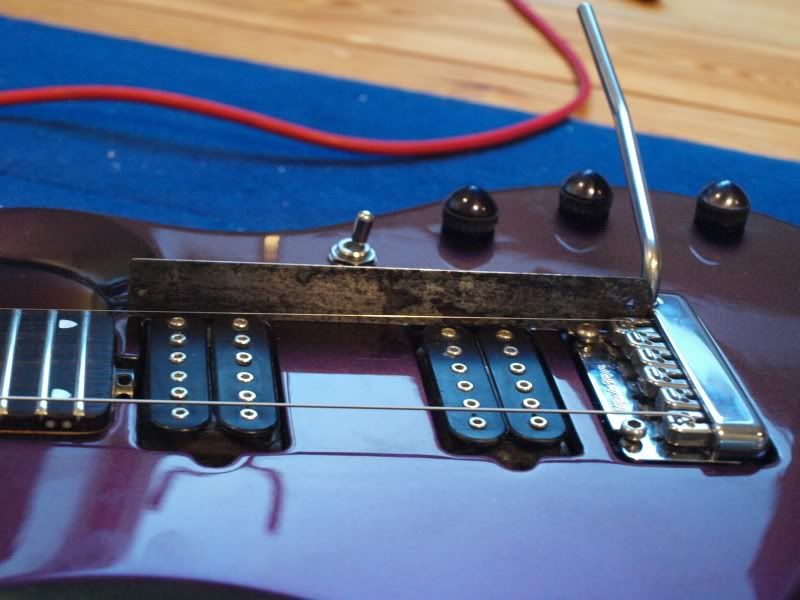
I'm using 2 springs at this stage of the set up and I have also temporarily "chocked" the trem block using a pencil eraser.
d54b2f39.jpg


At this stage you have to ensure that the trem plate on the front of the guitar is flush and parallel to the body. I use and old 6 inch ruler to help me with this.
56fb7286.jpg


At this stage I've brought the E's up to pitch. I slackened the truss road when I took the guitar apart, so now I've now started to tighten the rod just a bit to compensate for string tension.
I'll now add all the strings and whilst doing so, I'll keep checking the trem plate on the fromt of the guitar to keep it parallel - if the plate starts coming up, I'll add the third spring/screw the claw in a bit.

Ok - so I've strung it, brought it up to pitch at the same time added the 3 rd SPRING (the pencil eraser wasn't so good as it started falling apart!) and adjusted the claw so that the trem plate is flush/parallel to the body.

It plays err ok but heck I haven't checked the neck relief by putting a capo on the first fret then fretting at the 12the fret and seeing if I can press the strings to any of the frets around fret 7, I haven't checked the string height at the 12 th fret using feeler guages - but it's getting there. Gonna see if all the electrics work have a play on it and let it settle in overnight. More pictures tomorrow.
 
Last edited:

Spudmurphy

Well-known member
Joined
Aug 23, 2005
Messages
12,037
Location
Cardiff, United Kingdom
It's playing great - I guess that because I was happy with the set up before I took it apart, it wasn't as though I had to radius the saddles or anything when I put it back together.
Only one slight problem ... the mags are working fine but I can't get the piezo to work.

I'm waiting on a wiring diagram for a JP6 with Piezo, unless somebody out there has one!

My voltage meter is out in the garage and I can't be bothered to go out and get it.

I'll have a tinker tomorrow.
 

Spudmurphy

Well-known member
Joined
Aug 23, 2005
Messages
12,037
Location
Cardiff, United Kingdom
Cheers Norm - yeah putting it back together was a blast - just a bit disappointed that I haven't got the piezo working yet. Decided to hang fire on sorting that out until I get a wiring diagram.
Been playing it a lot this afternoon - tweeking the truss rod a bit here and there.
It was one hell of a job but I'm very pleased with the outcome. Its difficult to think that the
"storyboard" goes as follows:- Edit - I just noticed the very red finger in the third shot!!

SDC10057.jpg
SDC10153.jpg
SDC10186.jpg
ede74aef.jpg
ca9ec766.jpg
270ea45f.jpg
97633b38.jpg
1f032d19.jpg
5354eec1.jpg


All done by hand!!
 
Last edited:
Top Bottom